
In the game of hunting, the difference between nailing and missing your shot is your riflescope’s position. What do I mean? You won’t achieve accuracy while shooting with your scope mounted wrongly. So, you could be a professional – or an amateur in the hunting game and still miss a shot. Don’t even think that getting yourself the best scope for 3006 in 2020 would fix your shooting accuracy. Newsflash: it probably won’t. Now, calm down and don’t beat yourself up about it. While there are few factors responsible for ruining your shot, it mainly happens when you wrongfully mount the scope on your rifle.
Now that you know, you’re probably thinking of how to adjust the rifle scope. Do you ask a gunsmith to help you adjust your riflescope? Or do you adjust it again, by yourself? Well, the choice is yours. If you don’t mind spending a few dollars on getting your riflescope fixed by a gunsmith, by all means, proceed. But if you want to save that extra dollar and learn the skill of fixing a rifle scope (lol), stick with us longer to learn how to mount a rifle scope. Let’s go!

What you need for Mounting
To successfully mount a scope on a rifle, you need a few things. They are:
- Scope
- Bases
- Rings
Scope
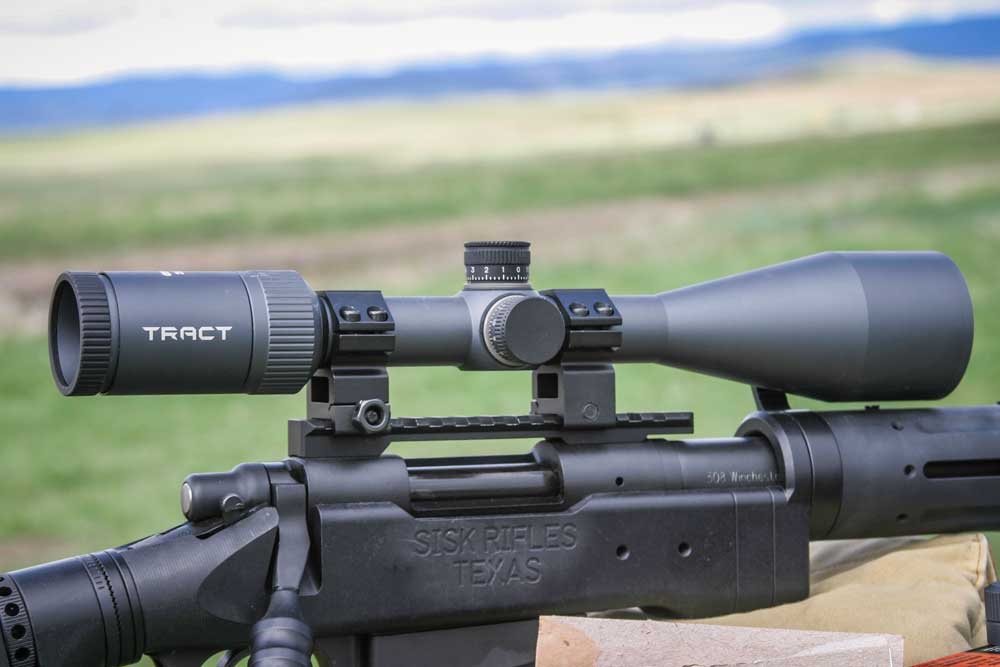
The scope is the most important element in the rifle optics system. It does come in handy for firearm enthusiasts and hunters. There are so many advantages attached to using a scope. For starters, it helps you hit your target. Most of the time, hunters easily hit their target with a scope. How? A scope brings your target into focus, making it easy for you to achieve precision while you pull the trigger. All thanks to the reticle focus of the scope, people with eye defects can also become pros at hunting. More so, amateurs can learn to aim and shoot better with a scope compared to using an iron sight.
Although there are tons of advantages to shooting with a scope, you can’t just grab any scope you see on the market or in your scope archives. You have to pay attention to certain scope features to ensure it serves you well. For starters, look out of scopes with a 30mm to 1inch tube. You might want to invest in a scope with a larger tube. The reason is that the larger the tube, the more components it has. Also, a larger tube means more adjustment. Hence, you can use it for long-distance shooting.
Another feature you should look out for on a rifle scope is the magnification. Start by determining the nature of your mission. Would you be shooting from a long or short distance? What is the size of your target? Is your target a speed guru or slower than a snail? All these questions would help you determine the scope magnification you should look out for. Longer distance requires a lot more magnification compared to a short distance. Likewise, smaller targets have. You should be careful about increasing your scope magnification to the highest, especially when your scope is a budget scope. You could end up blurring out the target by doing so. It’s better to configure the scope’s magnification based on distance, target size, and target movement.
The other features you should consider are the light transmission and eye relief, reticle and focal plane, parallax, adjustments, etc.
Bases
Consider this as the link between the firearm and the scope. It is screwed to the firearm to provide support to both the ring and the scope. The scope base is either made of aluminum (known for its high water-resistant quality) or Stainless steel. Generally, not all firearms have the ability to allow you to attach a scope to it directly. On some firearms, you need to attach a base first. Then, you can attach the ring and scope on the base. Some firearms have holes drilled into it to accommodate a rifle scope base. Hence, you need a screw to attach the rifle scope base to the rifle. But you should avoid screwing tight the base. If not, you won’t be able to get an accurate shot.
Rings
After the bases, comes the rings. Manufacturers produce scope rings with two materials. They are Aluminium and Stainless steel. These rings help you mount your scope.
There are two types of scope rings. They are the single rings and the one-piece mount. Both types of scope rings have their advantages. The single ring appears to be more flexible compared to the one price mount. However, the one-piece mount gives better results. Anyone you choose to use is fine. If you would use single rings, you’ll need two pairs.
Other tools
There are other tools that you need to mount a scope on a rifle. While we would mention some of these other tools in this guide, some of them include
Screwdriver sets:
When mounting a rifle scope, you would use some screws. These screws can come in different sizes. Hence, you would need different sizes of screwdrivers. Getting a screwdriver set seems like a more practical option. It is effective and could help save costs.
Torque Wrench:
The torque wrench helps to keep the scope in place. It makes the scope more firm than it is loose. Some experts prescribe the F.A.T torque wrench. You can order this off Amazon.
Bore Sighting:
The bore sightings help with alignment. That is, it aligns the rifle with the scope.
Lapping Bars:
Lapping bars are responsible for two things. First, they ensure that the space between the ring and scope surface contact is sufficient. Second, it also helps with scope rings alignment.
Reticle Leveler:
Just as the name sounds, it works to level the reticle. In effect, you would find that scope adjustment becomes easier.
Other tools include the blue Loctite and Gun Cradle, series of levels, etc.
Now, let’s get down to how you can mount your scope.
How to Mount a Scope on a Rifle? – The Steps
The first thing you should do before mounting a scope on your rifle is to remove the clips and bolt. It ensures that the rifle is in a safe position. You do not want the rifle mistake while you’re mounting the scope. That would be too dangerous and disastrous. So, carefully inspect the rifle to ensure that it is in safe mode. Once you’re sure that it’s safe, you can begin the mounting process. Here’s how to mount a scope on a rifle in four easy steps:
Step one: Attach the rings and bases
The rifle you have determines whether you need the base or not. Some rifles come with bases and some don’t. For rifles without bases, you need to attach a base before the ring can sit. But if your rifle has a base, directly attach the ring to the rifle.
If your rifle requires you to install a base before the scope can be mounted, ensure that the base and ring you pair are a perfect fit for your rifle. For the rings, ensure that it is the perfect size of the scope. As you know, most score tubes range from 30mm to 1inch. Buy rings that fit the diameter of your scope. Then, proceed to install the base (if needed). Don’t forget the screws! If you are worried about how tight you should screw the base in, simply check the manual that comes with the scope. Most scopes come with a manual that dictates how you should tighten a base screw. However, with a torque wrench, transmitters recommend tightness between 18″ – 22″ pounds. Do not make it too tight because you might have a hard time getting it out. Also, you could affect the accuracy of the scope in the process. Note: you can try a wet mount whereby you oil the contact surface. You can also try a dry mount that doesn’t require any oil before installing the base. Nevertheless, the kind of material depends on which mount you should try.
After the base is securely installed, attach the ring to the base. You can put the rings forward or backward. It all depends on your scope mounting technique. The rings have a top part. Remove those to allow the scope to sit on the ring. Once you set the range on the rings, replace the top part of the ring. But do not screw it tightly.
Step Two: Eye relief Adjustment
After screwing the scope in place, hold the rifle like you are about to shoot something. Then, adjust the range, backward, or forward. Only stop when you are satisfied with how your eyes sit behind the scope and the view you’re getting from the scope.
When you look through the scope and see a shadow ring in your view, it merely means the range is either too far or too close. Hence, you have to adjust the scope until the shadow is no more.
Step Three: Level the Reticle of the Scope
After adjusting the eye relief, proceed to level your reticle scope. One of the reasons why this is important is because it helps you aim correctly and shoot accurately.
How do you do this? Simply use a reticle leveler or to bubble level to do it. Note that you level your scope side to side, not up and down. If there’s a flat surface on your scope, you might want to put it to good
use. Place the bubble leveler on it, and rotate the range so that the lines are horizontal to the horizon.
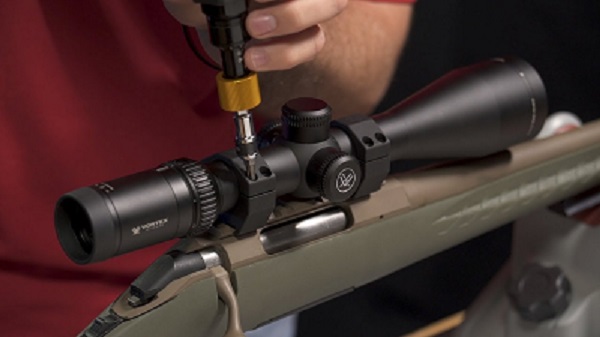
Step Four: Tighten the screws
Once you’ve successfully leveled your reticle, tighten the screw. But do not make it too tight as it will affect your aim.
Note that nailing every shot is dependent on how you mount your scope and the ability of the scope itself. For optimum performance, you might want to go a bit over your budget to get the best scope to serve you well.